by Joshua Thomas
Most car owners scrub their paint, vacuum the carpets, and polish the wheels — then completely overlook one of the grimiest spots on the entire vehicle. If you want to know how to clean car door jambs properly, you're ahead of most detailers. Door jambs collect road grime, old grease, rubber residue, and moisture-trapping debris that can eventually lead to rust. Combined with a full proper car wash routine, cleaning the door jambs regularly keeps your car looking sharp and protects the metal underneath.
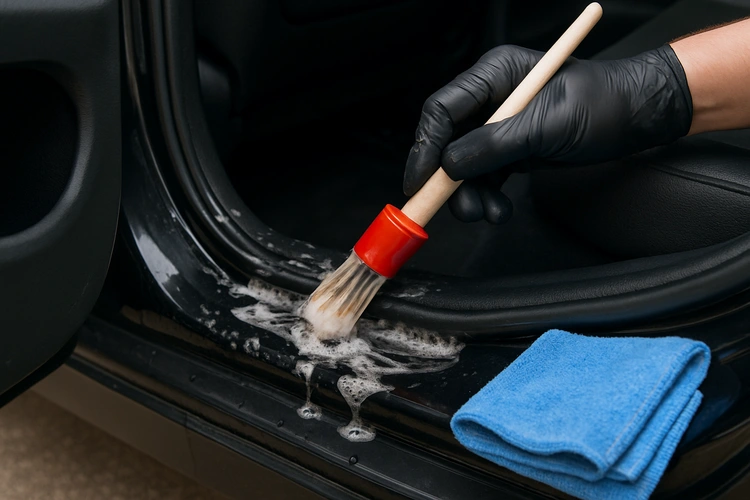
Door jambs are the structural frames and surrounding surfaces exposed when you open a car door. They're painted metal, often with rubber seals, plastic clips, and painted edges that chip and corrode if neglected. Dirt that sits in these crevices holds moisture against bare metal, and that's how rust starts. Fortunately, cleaning them is straightforward with the right supplies and technique.
Contents
It's easy to treat the door jamb as an afterthought. It's hidden when the door is closed and rarely noticed unless someone looks closely. But ignoring it has real consequences.
The painted metal in door jambs is thinner than body panels and more prone to oxidation when the protective coating chips or wears. Dirt traps moisture. Moisture accelerates corrosion. Once rust starts in a jamb, it spreads under the paint and can compromise the structural integrity of the door frame. Cleaning and applying a protective dressing breaks this cycle entirely. If you're already focused on preventing rust on your car, the door jambs should be on your maintenance list.
When a buyer opens a car door and sees grimy, stained jambs, they immediately assume the rest of the car has been neglected too. Clean jambs signal attentive ownership. It's a small detail with outsized influence on first impressions during a sale.
You don't need specialized products to clean door jambs well. Most of these are already in your detailing kit.
Avoid using harsh degreasers at full concentration — they can strip protective coatings from rubber seals and cause them to crack over time. A diluted APC handles 95% of the grime in a typical door jamb without any collateral damage.
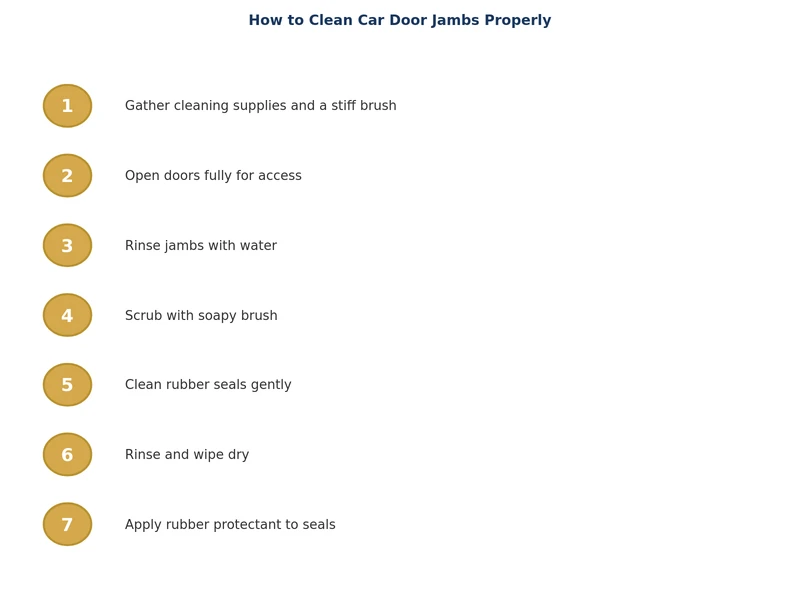
Work one door at a time. Open the door fully so it stays out of the way. Don't rush — the goal is to get into every fold and crevice, not just wipe the visible flat surfaces.
Spray diluted APC generously across the entire jamb area — the inner door edge, the body-side frame, the door sill, and the rubber seal channel. Let it dwell for 30–60 seconds. This breaks down the bonded grime before you touch it, which means less scrubbing and less risk of scratching.
If you have compressed air, blast out the drain holes and channel gaps first. Loose debris coming out now won't turn into muddy streaks when you start scrubbing.
Use your stiff detailing brush on painted metal surfaces and the door sill. Use your soft brush around rubber seals and plastic clips to avoid tearing. Work from top to bottom so loosened grime falls down and doesn't re-contaminate areas you've already cleaned.
For very tight spots — hinge areas, corner folds, bolt recesses — use a cotton swab or an old toothbrush. These areas trap the most grime and are most at risk for rust if ignored.
Wipe down with a damp microfiber towel, then follow with a dry one. Repeat with fresh towels until they come away clean.
Drying is critical. Standing water in jamb channels is the enemy. Use a dry microfiber to absorb moisture, and if you have compressed air, give a final blast into all the gaps. Once dry, apply a rubber protectant to the seals and a trim dressing to any exposed plastic. For painted metal, a light wipe of spray detailer or a thin coat of paste wax goes a long way toward protecting against future grime buildup.
Different products suit different levels of grime. Here's a quick reference to help you choose the right approach.
| Product Type | Best For | Dilution Ratio | Safe on Rubber? | Notes |
|---|---|---|---|---|
| All-Purpose Cleaner (APC) | General grime, light grease | 5:1 – 10:1 | Yes (diluted) | Best all-around choice |
| Panel Wipe / IPA Solution | Residue removal before protection | Diluted or ready-to-use | Caution | Use sparingly on seals |
| Degreaser | Heavy grease buildup | 10:1 – 20:1 | No at full strength | Rinse thoroughly |
| Car Wash Soap | Light maintenance cleaning | Per label | Yes | Good for routine washes |
| Rubber Protectant / Trim Dressing | Post-clean protection | Ready-to-use | Yes (designed for it) | Apply after drying |
If you're also cleaning other exterior trim areas, the same APC and trim dressing workflow applies. Check out the guide on how to restore black plastic trim for a deeper look at protecting plastic surfaces alongside your jamb work.
Even experienced detailers make these errors when cleaning door jambs. Knowing them ahead of time saves you time and potential damage.
Flooding the door jamb with a pressure washer or garden hose at high pressure forces water into electrical connectors and behind seals. Spray your cleaner from a bottle and rinse with a controlled mist — not a blast. This is especially important near door hinges, which often have wiring harnesses running through them.
The rubber seal channel is where the most grime accumulates and where moisture gets trapped. Many people wipe the painted surfaces and skip the seal groove. Use a soft brush to work cleaner into the channel, then wipe it out. Finish with a rubber conditioner to keep the seal pliable. Cracked, dry seals let water into the cabin.
Leaving moisture behind undoes most of your work. Water sitting in a fold or bolt recess will start the corrosion process within hours in humid conditions. Take the extra two minutes to dry everything completely.
Rubber dressings and trim coatings aren't designed for painted metal. Applying them to the painted areas of the jamb leaves a greasy film that attracts dirt faster. Keep dressings on rubber and plastic only — use a proper detailer or wax on the painted metal sections.
The painted edge of the door itself — the metal edge that faces the jamb when closed — chips easily and is often overlooked. Clean it with the same APC and soft brush, check for any bare metal chips, and touch them up with touch-up paint before they rust. This is closely related to the work covered in fixing door dings, since paint chips along the edge are a common entry point for corrosion.
There's no single answer — it depends on your environment and how frequently you use the car. Here are practical guidelines.
Pairing jamb care with a broader detailing routine — including interior attention like cleaning carpet floor mats — means your car stays clean inside and out without any single session feeling overwhelming.
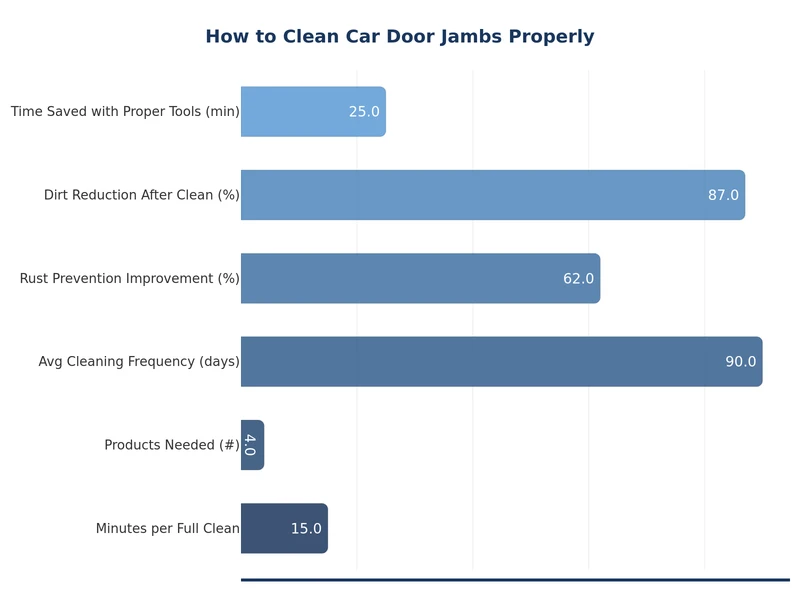
Learning how to clean car door jambs properly is one of those details that separates a truly clean car from one that just looks clean at a glance. The process takes minimal time, costs almost nothing in supplies, and actively protects your car's metal from the rust that starts in exactly these hidden spots. Make it part of every deep wash, and your door frames will stay sharp for the life of the vehicle.
For most drivers, a quick wipe-down every two to three washes is enough to prevent buildup. Do a full deep clean with brushes and a rubber conditioner every three to four months, or immediately after driving in mud or heavy rain.
Use caution. A pressure washer on a low setting can rinse away loose debris, but high pressure can force water into electrical connectors and behind seals. A spray bottle of diluted all-purpose cleaner and a controlled water rinse is safer and equally effective.
A diluted all-purpose cleaner at a 5:1 to 10:1 ratio handles most grime without damaging rubber seals or painted surfaces. Follow up with a rubber protectant on seals and a trim dressing on any plastic components after the surfaces are fully dry.
Yes. Dirt and debris in door jambs trap moisture against painted metal. Over time, this moisture breaks down the paint, exposing bare metal to oxygen and water — the two ingredients needed for rust. Regular cleaning and a protective wax or dressing on painted surfaces breaks this cycle.
Yes, applying a thin coat of paste wax or spray detailer to the painted metal sections of the jamb adds a barrier against moisture and makes future cleaning easier. Avoid using rubber or trim dressings on painted surfaces — use those only on seals and plastic trim.
Use a soft detailing brush with diluted all-purpose cleaner to work into the seal channel, then wipe clean with a microfiber towel. Once dry, apply a dedicated rubber conditioner to keep the seal pliable and prevent cracking. Avoid silicone-heavy products that can make seals slippery and attract dust.
 |
 |
 |
 |
About Joshua Thomas
Joshua Thomas just simply loves cars and willing to work on them whenever there's chance... sometimes for free.
He started CarCareTotal back in 2017 from the advices of total strangers who witnessed his amazing skills in car repairs here and there.
His goal with this creation is to help car owners better learn how to maintain and repair their cars; as such, the site would cover alot of areas: troubleshooting, product recommendations, tips & tricks.
Joshua received Bachelor of Science in Mechanical Engineering at San Diego State University.
Get some FREE car parts & gear.. Or check out the latest free automotive manuals and build guides here.
Disable your ad blocker to unlock all the hidden deals. Hit the button below 🚗
| | | |