by Joshua Thomas
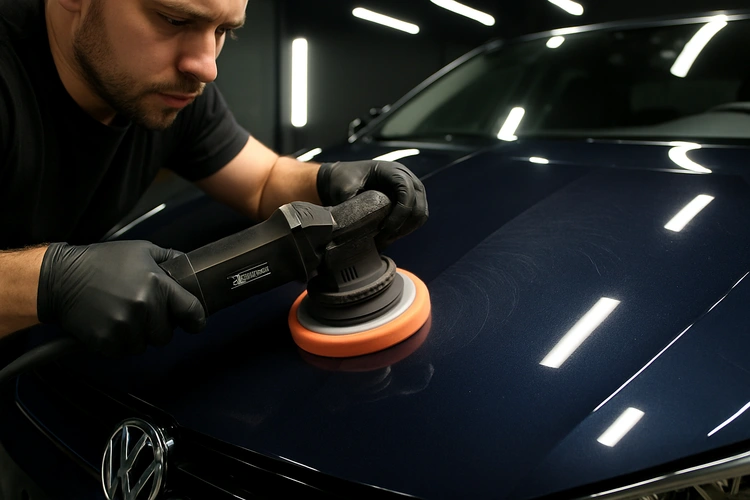
Learning how to paint correct a car is one of the most rewarding skills a car owner can develop. Paint correction removes surface defects — swirl marks, light scratches, oxidation, and water spots — from the clear coat, restoring a deep, mirror-like gloss that wax alone can never achieve. This beginner's guide covers every step, from choosing the right tools to protecting your results long-term.
Unlike waxing or quick-detailing sprays, paint correction is a permanent fix. You're physically leveling the clear coat with abrasive compounds rather than filling or masking imperfections. According to the Wikipedia overview of automotive paint, a modern factory finish consists of primer, base coat, and a protective clear coat layer — and it is that clear coat that paint correction works on. Understanding this helps you avoid cutting too deep and burning through to the base coat below.
If you haven't already, start by decontaminating your car's paint before polishing — removing iron particles, tar, and embedded grime ensures your pads cut cleanly instead of dragging contaminants across the surface.
Contents
Paint correction is the process of using abrasive compounds, polishes, and a machine polisher to remove a microscopic layer of clear coat, eliminating defects that live within it. The result is a flat, uniform surface that reflects light consistently — the definition of a "glossy" finish.
Standard detailing — washing, waxing, applying a spray sealant — does not correct paint. These steps protect and enhance an existing surface but cannot remove swirl marks. Paint correction is a separate, more involved process. Think of detailing as maintenance and paint correction as restoration.
Deep scratches that expose primer or bare metal require touch-up paint or body shop repair — paint correction cannot help those. You can learn more about handling surface paint damage in our guide on removing dried paint overspray from your car.
| Item | Purpose | Beginner Pick |
|---|---|---|
| Dual-action polisher | Drives pads with random orbital motion — safe for beginners | TORQ 10FX, Griot's G9 |
| Cutting compound | Removes heavy defects and oxidation | Meguiar's M105 |
| Polish | Refines after compound, removes light swirls | Meguiar's M205 |
| Finishing polish | Final pass for maximum gloss | Chemical Guys VSS |
| Cutting pad | Aggressive foam for heavy correction | Orange or yellow foam |
| Polishing pad | Medium cut for polish stage | White foam pad |
| Finishing pad | Soft foam for final gloss pass | Black or light grey foam |
| Paint depth gauge | Measures clear coat thickness before cutting | LS220 or similar |
| LED work light / swirl finder | Reveals defects invisible in daylight | Any bright LED lamp |
| Masking tape | Protects trim, rubber seals, and plastic | Blue painter's tape |
You can do light correction by hand using a foam applicator and an all-in-one polish, but a machine delivers dramatically better results in far less time. A dual-action (DA) polisher is the right tool for beginners — it is virtually impossible to burn through paint with a DA because the pad stops spinning if pressed too hard. For a complete introduction to operating one, read our dedicated guide on how to use a dual-action polisher.
Skipping preparation is the most common beginner mistake. Polishing a contaminated or dirty surface drags grit across the paint, creating new scratches faster than you remove old ones.
A paint depth gauge tells you how much clear coat remains. Readings below 80–90 microns mean you have limited material to work with and should skip heavy cutting compounds. Most factory paint comes in at 120–150 microns. Measure across multiple spots on each panel, as previous repaints or body filler can cause uneven readings.
Choose a 12-inch square on an inconspicuous panel — a door jamb or rear quarter panel works well. Apply a pea-sized amount of compound to your cutting pad, spread it at speed 1 before engaging the machine, then work at speed 4–5 using 4–6 passes in a cross-hatch pattern. Wipe residue with a clean microfiber and inspect under your LED lamp. If defects are gone and the clear coat looks healthy, proceed. If not, adjust your product, pad, or speed before doing the whole car.
Divide the car into 18×18-inch sections. Work panel by panel — hood, roof, doors, trunk — moving from top to bottom so falling residue lands on uncorrected paint. Keep the pad flat against the surface and overlap passes by 50%. Never work in direct sunlight; heat accelerates product drying and reduces lubrication, which can cause marring. A shaded garage or canopy is ideal.
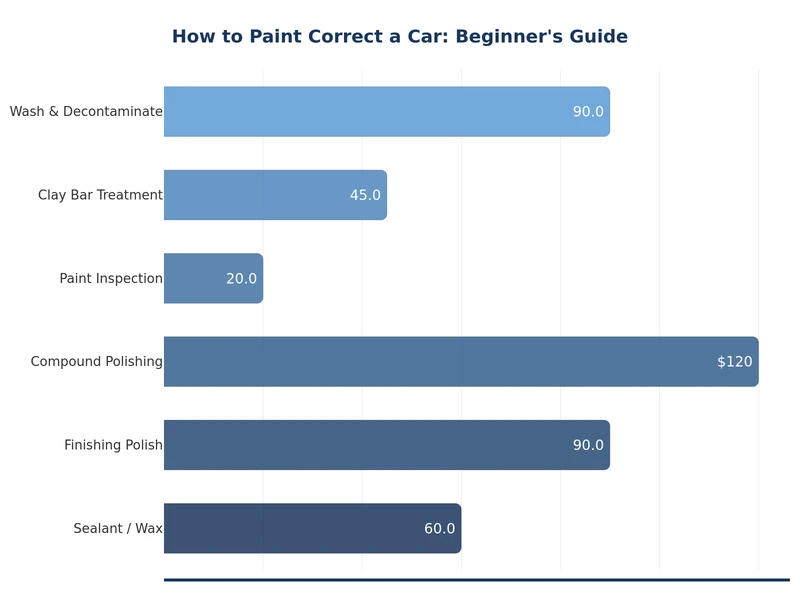
Correction sequence for most vehicles:
Lightly oxidized paint that only has swirl marks may only need Stage 2. Heavily swirled or oxidized paint needs all three stages. For panels with very fine scratches, consider pairing correction with wet sanding before machine polishing — wet sanding levels severe defects that compound alone struggles to remove.

The pad and product work together. A soft pad with an aggressive compound delivers less cut than a firm cutting pad with the same compound. This pairing system gives you flexibility — you can dial the correction level up or down without switching products.
When unsure, start with less cut and add more if needed. Removing excess clear coat is permanent; you cannot put it back. Prime each fresh pad by applying product to the pad face and working it into the foam on a clean panel at low speed before beginning your section passes.
Freshly corrected paint is clean, bare clear coat. Without protection, contaminants bond immediately and UV rays begin degrading the surface. Apply protection the same day, after a final IPA wipe-down.
Maintain the corrected finish with proper washing technique — a two-bucket wash with soft microfiber mitts prevents new swirl marks from forming. Avoid automatic tunnel washes with stiff bristle brushes, which are the primary cause of swirl damage in the first place.
A full two-stage paint correction on an average sedan takes 8–16 hours depending on the severity of defects and the number of panels. First-timers should budget extra time for learning the process and working carefully in small sections.
Paint correction removes scratches that live within the clear coat layer. If a scratch catches your fingernail noticeably or has broken through to the base coat or primer, it cannot be corrected by polishing alone and requires touch-up paint or professional bodywork.
Most factory clear coats are 100–150 microns thick. Each correction pass removes a few microns. A properly performed single-stage correction removes very little material, but repeated aggressive cutting over years will eventually thin the clear coat to the point where further correction is unsafe. Using a paint depth gauge before and after each session helps you track remaining thickness.
Yes — a DA polisher is the best choice for beginners precisely because its random orbital motion limits heat buildup and makes it difficult to burn through paint. Rotary polishers cut faster but require experience to control safely. Start with a DA and learn the basics before considering a rotary.
Yes. Paint correction leaves the clear coat bare and unprotected. You should apply a wax, paint sealant, or ceramic coating as soon as the correction stages are complete to seal the surface and prevent contamination from bonding to fresh clear coat.
Polishing is one step within the broader paint correction process. Paint correction refers to the full multi-stage procedure — compounding, polishing, and sometimes finishing — aimed at permanently removing defects. A simple polish pass alone may not have enough abrasive cut to fully eliminate deeper swirls or oxidation.
 |
 |
 |
 |
About Joshua Thomas
Joshua Thomas just simply loves cars and willing to work on them whenever there's chance... sometimes for free.
He started CarCareTotal back in 2017 from the advices of total strangers who witnessed his amazing skills in car repairs here and there.
His goal with this creation is to help car owners better learn how to maintain and repair their cars; as such, the site would cover alot of areas: troubleshooting, product recommendations, tips & tricks.
Joshua received Bachelor of Science in Mechanical Engineering at San Diego State University.
Get some FREE car parts & gear.. Or check out the latest free automotive manuals and build guides here.
Disable your ad blocker to unlock all the hidden deals. Hit the button below 🚗
| | | |