by Joshua Thomas
Condensation inside your headlights is more than an eyesore — it scatters light, reduces visibility, and signals a broken seal that will only get worse. Learning how to remove condensation from headlights can save you the cost of a full headlight replacement and restore your car's appearance in a single afternoon. Whether you're dealing with a light mist or pooled water, the fix is usually straightforward. If your lenses are also yellowed or hazy, pair this guide with our walkthrough on how to fix foggy headlights for a complete restoration.

Contents
Headlight housings are not completely airtight. Manufacturers build small vent tubes into each assembly to allow pressure equalization as temperatures change. Warm air carrying humidity enters through these vents; when temperatures drop, that moisture condenses on the cooler inner lens surface. This is normal and usually clears on its own within minutes of turning the lights on.
The problem arises when water accumulates in pools, streaks run down the inside of the lens, or the moisture never fully evaporates. At that point, the housing seal or vent system has failed.
A light haze that disappears after five to ten minutes of running the lights is perfectly normal. Standing water, persistent fog that lasts hours, or visible droplets clinging to the inside of the lens all indicate a breach. Ignoring a breach allows corrosion to form on the bulb socket and reflector, which can permanently dim your headlight output and eventually require a full housing replacement.
Gather everything before you start. Most items are available at any auto parts store or hardware retailer.
If you have light to moderate condensation and no standing water, try these methods first before tackling a full removal.
This method works because warm air inside the housing raises its capacity to hold moisture, and the vent tube then expels that humid air as the housing breathes. It is a temporary fix if the vent is the issue; it will not work if there is a crack letting in bulk water.
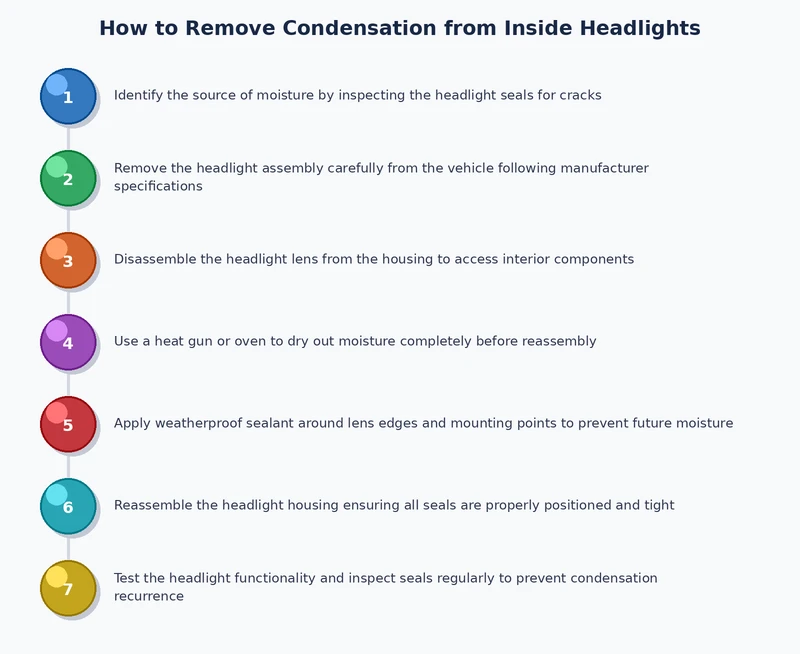
When quick fixes fail — or when you can see standing water pooled at the bottom of the lens — you need to remove the housing, open it, dry it thoroughly, and reseal it. This is the definitive fix for how to remove condensation from headlights that keeps returning.
For more detail on keeping your car's exterior in top condition, see our guide on how to paint correct a car, which covers surface restoration techniques that complement headlight work.
| Symptom | Likely Cause | Recommended Fix | DIY Difficulty |
|---|---|---|---|
| Light haze, clears in <10 min | Normal condensation cycle | No action needed; monitor | N/A |
| Haze persists 30+ minutes | Partially blocked vent tube | Clear or replace vent tube | Easy |
| Droplets on inner lens | Degraded housing seal | Remove housing, reseal | Moderate |
| Standing water at bottom | Cracked lens or broken seal | Open housing, dry, reseal or replace lens | Moderate–Hard |
| Corrosion on bulb socket | Long-term water intrusion | Full housing replacement advised | Hard |
| Condensation returns after repair | Crack in housing body | Replace housing | Hard |
According to the National Highway Traffic Safety Administration (NHTSA), degraded headlight output is a leading factor in reduced nighttime driving safety, making it important to address moisture intrusion before it compromises your bulb and reflector.
Once you have dried and resealed your headlights, a few habits will keep moisture from returning.
Every few months, check that the vent tube at the rear of each housing is clear, intact, and pointed downward. A blocked vent is the single most common reason moisture gets trapped. Tuck the end of the tube away from direct spray from the tire.
High-pressure water directed at the seam between the lens and housing can force water past even a good seal. When washing your car, reduce pressure near the headlights and avoid pointing the nozzle directly at the perimeter gap. If you detail your car regularly, consider applying a thin bead of clear silicone along the outer seam as a secondary barrier.
Always reseat the dust cover firmly after changing a bulb. Even a slightly misaligned rubber boot at the rear of the housing creates an unfiltered opening for humid air. Use nitrile gloves when handling halogen and HID bulbs — finger oils create hot spots that can crack the glass and compromise the surrounding seal.
Parking in a garage or shaded area reduces thermal cycling, which is the main driver of seal fatigue. If you park outside regularly, consider a car cover to limit temperature swings. For more tips on managing heat and your car's condition, see our article on how to keep your car cool in summer.
Stone chips and parking lot taps can introduce hairline cracks in the lens that are invisible to the casual eye. After any minor front-end contact, shine a flashlight around the lens perimeter and check for condensation over the following days. Catching a crack early means a simple lens replacement rather than a full housing swap.
Keeping your entire front end in good shape is part of routine car care. Our guide on how to repair a windshield chip yourself covers similar early-intervention techniques that prevent small damage from escalating.
Light condensation that clears quickly is safe to drive with. However, if moisture is persistent or there is standing water inside the housing, your headlight output is reduced and the bulb socket is at risk of corrosion. Address the problem as soon as possible to maintain safe visibility at night.
With the housing opened and left in a warm, dry area with silica gel packets inside, most housings are completely dry within 12 to 24 hours. In high humidity environments, 48 hours is safer before resealing.
Silica gel helps absorb residual moisture after drying the housing, but it is not a permanent fix if the root cause — a failed seal or blocked vent — is not addressed. Replace the gel packets every six to twelve months if you use them as a supplemental measure.
It depends on the manufacturer and the cause. If the seal failed due to a manufacturing defect and your vehicle is within the powertrain or bumper-to-bumper warranty period, it may be covered. Damage from pressure washing, physical impact, or aftermarket bulb modifications is typically excluded.
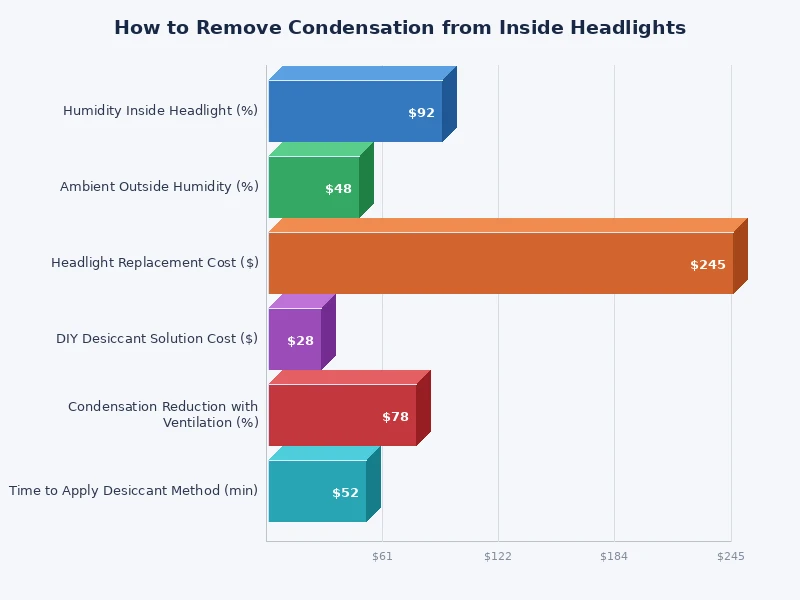
If the housing body itself is cracked, the reflector is visibly corroded or flaking, or condensation returns within days of a reseal, replacement is the most practical solution. A new OEM or quality aftermarket housing typically costs between $80 and $300 depending on the vehicle.
Yes. High-wattage aftermarket halogen bulbs generate significantly more heat than OEM-spec bulbs, which accelerates seal degradation. LED retrofit bulbs run cooler and can actually extend seal life, but poorly fitting LED kits can leave gaps in the dust cover that allow unfiltered air into the housing.
 |
 |
 |
 |
About Joshua Thomas
Joshua Thomas just simply loves cars and willing to work on them whenever there's chance... sometimes for free.
He started CarCareTotal back in 2017 from the advices of total strangers who witnessed his amazing skills in car repairs here and there.
His goal with this creation is to help car owners better learn how to maintain and repair their cars; as such, the site would cover alot of areas: troubleshooting, product recommendations, tips & tricks.
Joshua received Bachelor of Science in Mechanical Engineering at San Diego State University.
Get some FREE car parts & gear.. Or check out the latest free automotive manuals and build guides here.
Disable your ad blocker to unlock all the hidden deals. Hit the button below 🚗
| | | |