by Sarah Whitfield
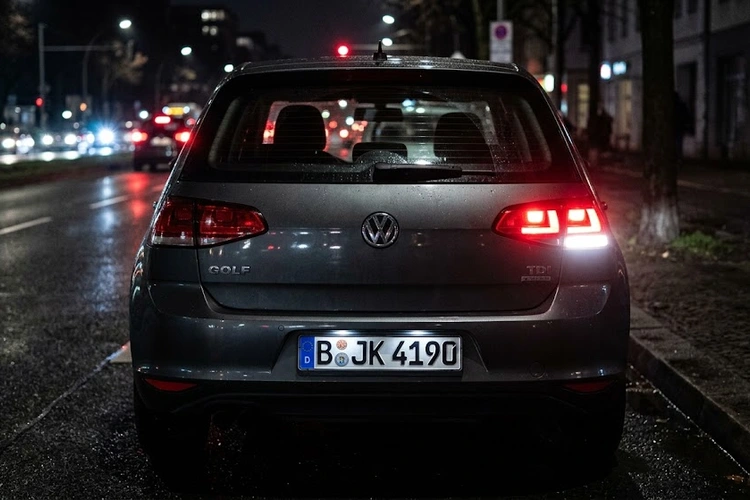
Have you ever been pulled over at night because your taillights were out — even though you had absolutely no idea they had failed? Taillights not working is one of those problems that blindsides drivers, because you simply cannot see your own rear lights from inside the car. The good news is that most taillight failures trace back to a short list of fixable causes, and you can handle many of them in your driveway with basic tools and about thirty minutes of your time.
Before you schedule an expensive shop visit, work through this guide to understand exactly why your taillights stopped working, how to confirm the cause, and how to fix it properly. If a warning light appeared on your dashboard alongside the electrical problem, bookmark this guide on how to reset a check engine light for after you have addressed the underlying fault.
Contents
Your taillight circuit is a simple system, but it passes through several components that can each fail independently. The table below maps the most common causes to their symptoms so you can zero in on the right fix without guessing.
| Cause | Typical Symptom | DIY Difficulty | Estimated Parts Cost |
|---|---|---|---|
| Burned-out bulb | One taillight out; brake light may still work | Easy | $2–$15 |
| Blown fuse | Both taillights out simultaneously | Easy | $1–$5 |
| Wiring or ground fault | Flickering or intermittent taillight | Moderate | $10–$50 |
| Corroded bulb socket | New bulb does not fix the dead light | Easy–Moderate | $15–$60 |
| Faulty body control module (BCM) | Multiple lights failing together with dash warnings | Advanced | $200–$700 |
A burned-out filament bulb is the single most common reason for taillights not working, and it is always the first thing to check on any vehicle. Most cars use a dual-filament bulb that handles both the running taillight and the brake light in one housing, so one function can fail while the other continues working normally.
When both taillights go out at exactly the same time, a blown fuse (a small protective device that breaks the circuit when current spikes too high) is the most likely explanation. A single fuse typically controls the entire taillight circuit, so one fault kills both sides at once.
Corroded or damaged wiring causes taillights not working on older vehicles and on cars that have seen road salt or significant moisture exposure over many years. A faulty ground connection — the wire that completes the circuit back to the car's metal chassis — produces flickering lights, dim lights, or a light that works intermittently without any clear pattern.
If you have already swapped the bulb and the fuse is fine, the bulb socket itself is your next suspect. Heat and moisture damage the metal contacts inside the socket so badly that a perfectly good bulb cannot complete the circuit and illuminate properly.
A systematic diagnosis saves you from replacing parts that are not actually faulty. Work through the steps below in order, and you will identify the exact cause before spending a dollar on repairs.
Pro warning: If your new fuse blows the instant you turn on the headlights, stop replacing fuses immediately — you have an active short circuit in the wiring that will burn through every fuse you install until you locate and repair the damaged wire.
Taillight electrical faults often share diagnostic tools and wiring access points with other rear-lighting problems on the same vehicle. If you are also dealing with high beams not working, check whether both problems share a fuse box zone or body control module fault, rather than treating each lighting failure as a completely separate issue.
Once you have identified the cause, the repair is direct and manageable for most drivers. Follow these steps for the three most common fixes, and always run a full function test before closing the assembly up for the last time.
Replace both taillight bulbs at the same time, even if only one has failed. The surviving bulb is the same age and will fail within weeks of the first, so buying a pair now costs almost nothing extra and eliminates a second identical repair very soon.
According to the National Highway Traffic Safety Administration (NHTSA), functional rear lighting is mandatory safety equipment on all road-going vehicles — a dead taillight fuse is a legal violation, not just a maintenance item.
Wiring repairs take more patience, but the majority of ground-related taillight problems are resolved in under an hour with basic hand tools and the right technique.
Rear wiring harness work sometimes reveals brake system concerns on the same inspection, particularly on high-mileage vehicles where multiple systems are showing wear at once. If you notice soft or uneven braking while you are under the rear of the car, check these brake master cylinder symptoms as a parallel diagnostic step before buttoning everything back up.
Fixing a dead taillight is satisfying, but preventing the next failure saves you time, money, and the aggravation of another traffic stop at the worst possible moment. A few deliberate habits make taillight failures genuinely rare on any vehicle you own.
LED (light-emitting diode) bulbs are the best single investment you can make for long-term taillight reliability, because they outlast incandescent bulbs by an enormous margin and draw significantly less current from the electrical system.
The most reliable way to catch taillights not working before a police officer does is to build a two-minute visual check into your existing maintenance schedule, because early detection costs nothing and late detection costs a ticket.
Good rear-lighting habits fit naturally into a broader approach to vehicle safety and predictive maintenance. If you are dealing with any brake-adjacent pulling or vibration while inspecting the rear of your car, the guide on steering wheel pulling when braking covers that diagnosis in full detail and is worth reading alongside this one.
No — driving with taillights not working is illegal in every U.S. state and in most countries worldwide. Rear lighting laws are enforced at traffic stops, and more importantly, other drivers behind you cannot see your vehicle at night or in poor visibility, which creates a serious rear-end collision risk.
Your brake lights use a separate filament inside the same dual-filament bulb, so the taillight filament can burn out while the brake light filament remains intact. You almost certainly have a burned-out taillight filament — replace the bulbs on both sides and the problem will be resolved.
When both taillights fail simultaneously, the most common cause is a blown fuse, since a single fuse typically controls the entire taillight circuit. Check and replace the taillight fuse first. If the new fuse blows immediately, an active short circuit in the wiring is pulling too much current.
A shop bulb replacement typically runs $25 to $75 including labor. A fuse replacement is under $30. Wiring repairs range from $80 to $200 depending on the complexity of the fault. A body control module replacement is the most expensive repair, running $250 to $700 parts and labor combined.
The fuse is labeled "TAIL," "TAILLAMPS," "PARK LAMPS," or "REAR LIGHTS" depending on your vehicle manufacturer. Check the fuse diagram on the inside of your fuse panel cover or in your owner's manual — the diagram identifies every fuse by name and amperage rating for your exact model.
Back your car up close to a garage door or a flat wall at night with the headlights on. The wall reflects both taillights back at you clearly, so you can confirm whether both sides are lit without needing anyone to stand behind the vehicle. This technique works for brake light testing too if you press the pedal while in park.
 |
 |
 |
 |

About Sarah Whitfield
Sarah Whitfield is a diagnostics and troubleshooting specialist who spent ten years as an ASE-certified technician before joining the editorial team. She specializes in OBD-II analysis, electrical gremlins, and the kind of intermittent problems that make most owners give up.
Get some FREE car parts & gear.. Or check out the latest free automotive manuals and build guides here.
Disable your ad blocker to unlock all the hidden deals. Hit the button below 🚗
| | | |