by Joshua Thomas
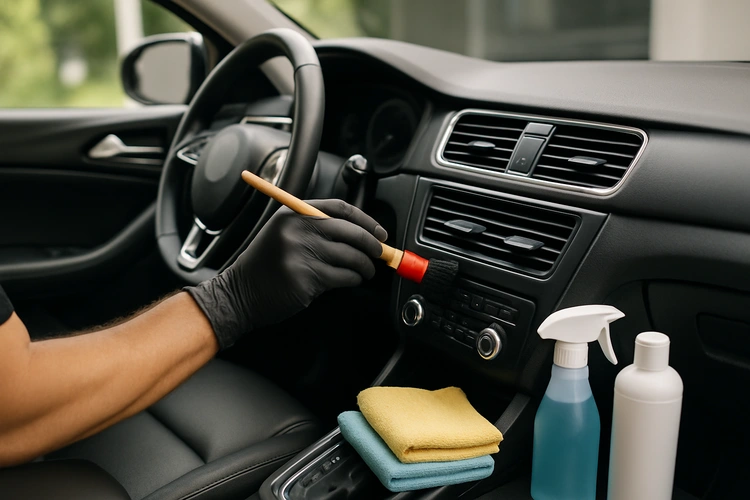
Learning how to detail a car interior transforms a tired, grimy cabin into a space that looks and smells showroom-fresh. Interior detailing goes beyond a quick vacuum — it covers every surface from carpet to headliner, removing embedded dirt, stains, and odors. Whether you're prepping a vehicle for sale or simply maintaining your daily driver, a thorough interior detail adds real value and extends the life of your materials. This step-by-step checklist walks you through every phase so you never miss a spot. If you also plan to refresh the exterior, our guide on how to wax a car by hand covers that process in full.
Contents
Having the right tools before you start saves time and prevents re-doing work. Auto detailing professionals rely on specific products for each surface type — using the wrong cleaner on leather or the wrong brush on delicate trim can cause damage. Stock these supplies before you begin:
| Supply | Primary Use | Notes |
|---|---|---|
| Wet/dry vacuum with attachments | Carpets, seats, crevices | Crevice tool is essential for between seats |
| Upholstery cleaner | Fabric seats and carpets | See our best upholstery cleaners guide for top picks |
| Leather cleaner and conditioner | Leather seats and trim | Always follow cleaner with conditioner |
| All-purpose cleaner (APC) | Hard plastics, door panels | Dilute according to surface sensitivity |
| Interior detailer spray | Dashboard, console, trim | Leaves matte or satin finish |
| Glass cleaner (ammonia-free) | Windows and mirrors | Ammonia damages window tint |
| Microfiber towels (x6 minimum) | All surfaces | Use separate towels for glass vs. surfaces |
| Detailing brushes (soft and stiff) | Vents, stitching, trim gaps | Soft for vents, stiffer for carpet agitation |
| Compressed air or detailing blower | Vents, buttons, tight gaps | Forces debris out before vacuuming |
| Foam applicator pads | Applying protectants | Ensures even, streak-free coverage |
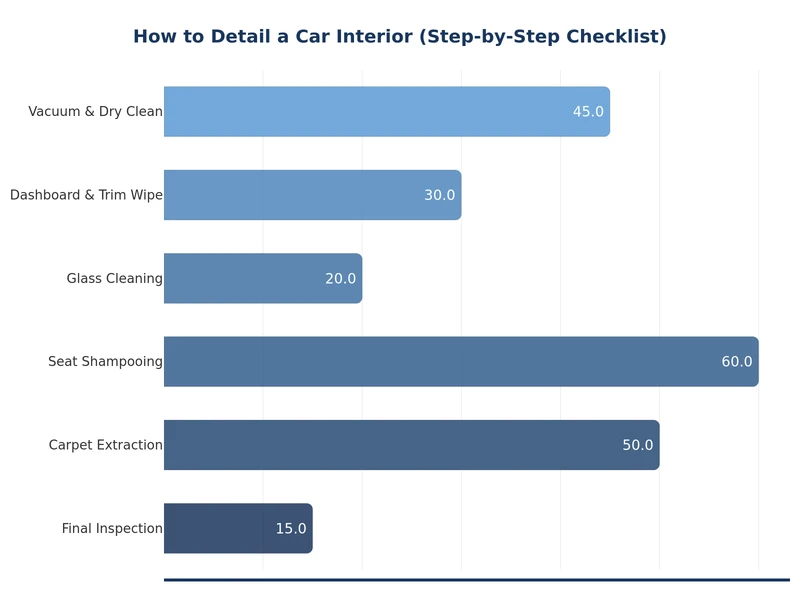
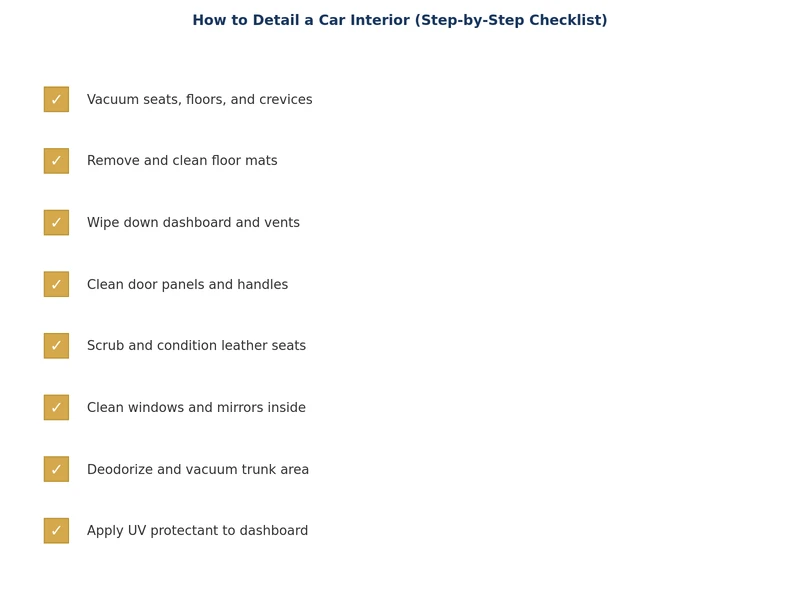
Work from top to bottom and back to front. This approach ensures that debris falling from upper surfaces gets cleaned up by later steps rather than contaminating areas you already finished.
Take out floor mats, seat organizers, booster seats, and any personal items. Shake floor mats outside and set them aside. An empty cabin gives you unobstructed access to every surface and prevents you from accidentally spraying products onto electronics or valuables.
Use compressed air or a detailing blower first — blast it into air vents, the gap between the seat and console, and around buttons. This dislodges trapped dust so the vacuum picks it up rather than pushing it deeper. Vacuum seats front to back, then floors. Use the crevice tool along seat tracks and under pedals. Vacuum the trunk and under the spare tire cover if accessible.
Identify problem areas before applying any product broadly. Coffee spills, grease, pet hair, and ink each respond best to different treatments. Spray your upholstery cleaner directly onto stained fabric and let it dwell for two to three minutes. For carpets with ground-in dirt, agitate gently with a stiff brush before extracting.
Seats are the most-used surfaces in your cabin and typically the dirtiest. The cleaning method depends entirely on the material.
Spray a quality upholstery cleaner onto a section of the seat, then work it in with a medium-stiff brush using circular motions. Wipe away the foam and lifted dirt with a clean microfiber towel. Repeat in overlapping sections. For deeply saturated stains, a hot water extraction machine delivers far better results than spray-and-wipe alone. Allow seats to air dry with windows open or doors ajar — avoid closing the car while wet to prevent mildew odor.
Floor carpets follow the same process. Treat, agitate, extract or blot. Once fully dry, vacuum again to lift any fiber residue and restore the carpet texture.
Use a pH-neutral leather cleaner rather than an all-purpose product — harsh chemicals dry out leather and accelerate cracking. Apply cleaner with a soft brush or microfiber applicator, working it gently into the grain. Wipe clean with a damp microfiber towel. Follow immediately with a leather conditioner to replenish oils and maintain suppleness. Avoid silicone-based dressings on leather — they create a greasy film and can accelerate drying over time.
Hard interior surfaces collect dust, fingerprints, and greasy residue from hands and ventilation airflow. The goal is a clean, matte finish — not a shiny, slippery dashboard that creates glare while driving.
Spray an all-purpose cleaner onto a microfiber cloth — never directly onto the dashboard near electronics. Wipe down the entire dash in sections, including the instrument cluster surround, A-pillar trim, and door cards. Use a soft detailing brush to work cleaner into textured plastic grain and around buttons. Follow with a separate dry microfiber to lift any remaining residue. Apply interior detailer spray using a foam applicator pad for a clean, protective finish.
For air vents, angle a soft detailing brush through each slat while vacuuming simultaneously. Compressed air beforehand helps push debris into the cabin for easier removal.
Cupholders are notorious for sticky residue. Remove insert trays if possible and wash them separately. For fixed cupholders, wrap a microfiber around a narrow brush or use a cupholder cleaning tool. Wipe the center console, armrest lid, gear selector surround, and all storage compartments. Don't overlook the storage bin under the armrest — it tends to collect dust, crumbs, and forgotten items.
Interior glass fogs from off-gassing plastics and breath moisture, creating a film that reduces visibility. Use an ammonia-free glass cleaner to protect window tint. Spray onto a clean microfiber and wipe in overlapping strokes — starting with vertical passes then finishing horizontal helps identify streaks. The rear window can be tricky to reach; use an adjustable window cleaning tool or wrap a microfiber around a flat applicator pad for better leverage.
Reinstall freshly cleaned floor mats once everything is dry. Shake them out again if they've been sitting outside. For a complete refresh, consider hanging a vent clip air freshener or placing a small odor absorber under a seat.
If you maintain the exterior regularly — including tasks like cleaning your alloy wheels — pairing that with a thorough interior detail keeps the entire vehicle in top condition. For seasonal storage prep, our car storage checklist includes interior protection steps to prevent cracking and mildew during long periods of inactivity.
The best way to make interior detailing easier is to prevent buildup in the first place. A few simple habits significantly reduce how often a full detail is needed:
A full interior detail takes two to four hours depending on the vehicle's size and condition. Doing it consistently — every three to six months — means each session is faster and less intensive than trying to tackle years of neglect at once. The investment in the right supplies pays for itself in maintained resale value and a cabin that simply feels better to be in every day.
A thorough interior detail typically takes two to four hours for a standard sedan in average condition. SUVs and vehicles with heavy soiling, pet hair, or stubborn stains can take five or more hours. Breaking the job into two sessions — one for vacuuming and fabric cleaning, one for hard surfaces and glass — is a practical approach if time is limited.
Most vehicles benefit from a full interior detail every three to six months. Families with children, pet owners, and daily drivers in dusty or wet climates may want to detail every two to three months. A quick maintenance clean — vacuuming and a wipe-down — every few weeks keeps the condition between full details much more manageable.
Most household cleaners are not suitable for car interiors. Products like bleach, dish soap, and multi-surface sprays can strip protective coatings from plastic, dry out leather, and leave residue that attracts more dust. Use cleaners specifically formulated for automotive interiors — they are pH-balanced for the materials and won't cause long-term damage.
Start by eliminating the source — stains, food debris, or mildew-saturated carpet must be thoroughly cleaned before any deodorizer will work long-term. After cleaning, an ozone generator treatment is the most effective method for deep odor elimination. For maintenance, activated charcoal bags placed under seats absorb ongoing moisture and light odors without adding artificial fragrance.
Use a pH-neutral leather cleaner applied with a soft brush or microfiber applicator. Work in small sections, lifting dirt gently rather than scrubbing. Follow every cleaning session with a leather conditioner to replace the natural oils removed during cleaning. Avoid alcohol-based products, harsh degreasers, and silicone dressings — all three accelerate cracking and fading over time.
Professional detailing is worth it for vehicles with heavy contamination, pet hair embedded in carpet, serious stains, or odors that home cleaning hasn't resolved. Professionals have extraction equipment and steam cleaners that deliver results difficult to replicate with consumer tools. For routine maintenance, however, a DIY approach using quality products keeps your interior in excellent condition at a fraction of the cost.
 |
 |
 |
 |
About Joshua Thomas
Joshua Thomas just simply loves cars and willing to work on them whenever there's chance... sometimes for free.
He started CarCareTotal back in 2017 from the advices of total strangers who witnessed his amazing skills in car repairs here and there.
His goal with this creation is to help car owners better learn how to maintain and repair their cars; as such, the site would cover alot of areas: troubleshooting, product recommendations, tips & tricks.
Joshua received Bachelor of Science in Mechanical Engineering at San Diego State University.
Get some FREE car parts & gear.. Or check out the latest free automotive manuals and build guides here.
Disable your ad blocker to unlock all the hidden deals. Hit the button below 🚗
| | | |