by Joshua Thomas
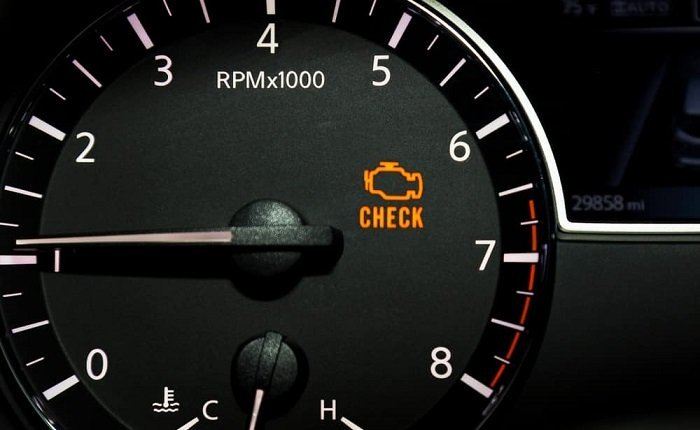
When you see the check engine light come on, the right idea would be to take in your vehicle to the mechanic or check the source if you the skills and experiences to do it.
With that said, the check engine light will sometimes still not turn off even when you solve the underlying problem. The light can be super annoying, and this is more so when you are certain there is no problem with your vehicle.
The good news is that you can easily reset the check engine light even without professional help, and there are various ways of doing it. But first, here are some probable reasons why you might want to reset this important warming light.
Contents

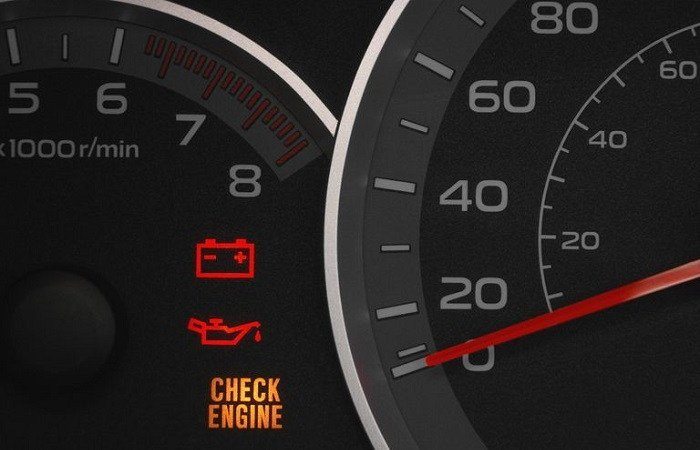
When the check engine light turns on, the first thought on your mind should always be to determine the source of the problem and not how to switch it off. Sometimes it can be an indication of catastrophic engine problems that can endanger your life and other road users.
But, there are still a few reasons you might want to reset this light, and hence the need to know how to do it.
1. ECU has not reset itself – Given that the ECU has to handle various information points and thousands of sensors, it can take longer to figure out that the issue with the engine is fixed and will hence not reset itself. In this case, you will need to reset the check engine light.
2. To avoid failing safety/emission tests – In some jurisdictions, a simple check engine light can mean that your vehicle fails the safety or emission tests. Hence, a reset is necessary to prevent this.
3. You are certain there is no problem – If you are certain there is no problem with your vehicle, there is no need to live with an annoying check engine light, and so it makes sense to want to reset it.
Because vehicles will have different kinds of computers and each situation will be different, there is no one way for resetting the check engine light that will work for everyone. However, some particular methods work for most situations and below we highlight some of them.

When you see that check engine light turn on, there is almost always an issue whether it is something minor or major. And if you have been driving the vehicle long enough or have at least basic mechanical skills, in many instances you should be able to figure out the problem.
But, in some instances, things can get confusing even for the more experienced drivers. In such situations, you might try every fix that you can think off but the light will still not go off. When this happens, you should take the vehicle to a professional mechanic for identification and fixing of the issues.
Some of the most common car problems that can switch on the check engine light include a loose gas cap, failure of the oxygen sensors, catalytic converter failure, spark plug issues and a dead battery. Simply identifying and fixing these issues is often enough to rest the check engine light.

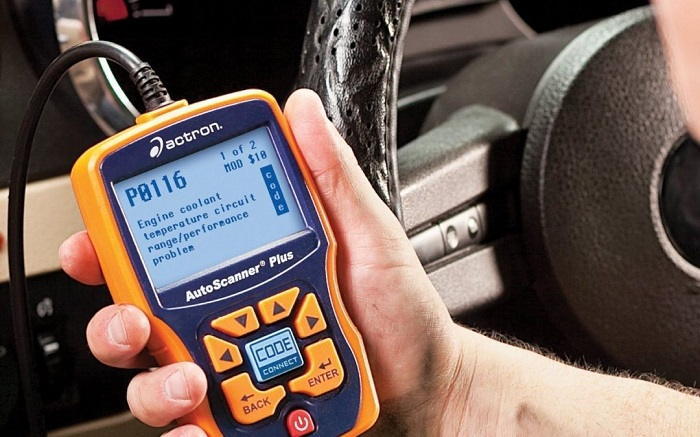
Vehicles manufactured after 1996 are fixed with an onboard diagnostic system, the OBD-II, and you need an OBD-II scanner to read it.
This scanner provides one of the easiest and safest ways of resetting the check engine light, and it is also the most commonly used method by professional mechanics. Here are the steps involved.
Step 1: Connect OBD-II Scanner
The first step is to connect your scan tool to the OBD-II which for most vehicles will be located just under the steering column. But, if it is not there or you just cannot seem to locate it, the vehicle's owner manual should help you pinpoint its exact location.
Once the scanner is properly plugged in, you should turn on your vehicle and once it is running, turn on the scanner and give it some time to boot before pressing the scan button to start the scanning process. Also, do not forget to turn off all the other gadgets in the vehicle to ensure they do not interfere with the scan.
Step 2: View Error Code
After a few seconds of scanning, the OBD-II scanner will identify and read all the error codes before displaying them on the small screen.
To see the error codes, you will typically need to press the "Read" button on your scan tool. And it will be a great idea to write down the codes as they are received as this can be very useful for feature repair or when you just need something to use for reference.
Step 3: Remove Error Code
The third and last step is to clear or remove the error codes displayed, and it is also as easy as the first two steps. Here you will only need to press the "Erase" button on your OBD-II scanner. After this, all the errors should be cleared and the check engine light switched off.
But because all scanners are not built the same, some models will have "Clear" instead of "Erase", which is just the same thing, and pressing it should clear the error and switch off the check engine light.
And in case you switched off the engine after identifying the errors, it is important to remember to switch it on before you can clear them, otherwise, they might not be cleared successfully. Another thing is to make sure that you know how the scanner you have operates and its capabilities as they tend to differ from one model to the other.

The battery disconnection technique or hard reset as it is also fondly referred to as by mechanics is another highly effective method of resetting the check engine light.
It is one of the oldest methods, and it will also not require a lot of technical know how because it is quite straightforward. And you will only need a wrench or pliers and gloves for safety. Here is how to do it.
Step 1: Disconnect Terminal Clamps
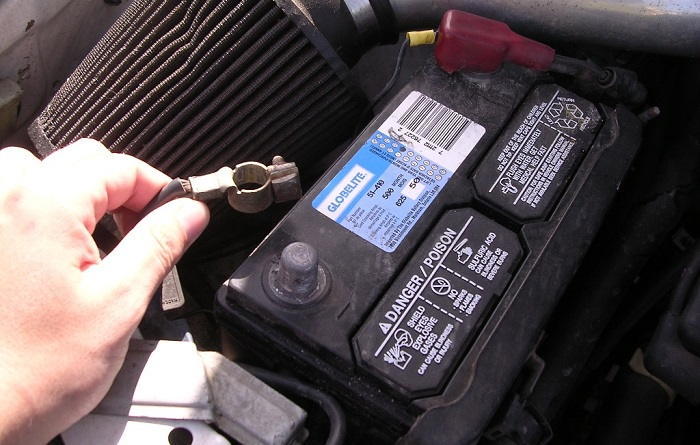
The first step is to turn off the vehicle and then disconnect the battery cables, which is meant to ensure there is no power for the onboard the diagnostic system to save fault codes that it picks up, which is what turns on the check engine light.
When disconnecting the terminal clamps, you will need a wrench, and it is always advisable to start with the negative terminal clamp before moving to the positive one. And you should also make sure that you remove the cables from the terminals completely.
Step 2: Drain Out any Remaining Power
Even with the battery terminals disconnected, there is still some power in the system which if not drained can be enough for the diagnostic system to save the fault codes.
One of the most effective ways to drain out the remaining power is by pressing and holding the horn for around 30 seconds. Pressing the horn continuously will ensure that any power in the capacitor is drained out. For some vehicles, you can also drain out the remaining power by depressing the brakes for around 1 minute.
Step 3: Wait and Reconnect
After the battery disconnection and power drain, you will only now have to wait for around 15 minutes. After the short wait, you can then reconnect the cables to their respective terminals.
You should now switch on the vehicle and check whether the memory has been erased and the error codes cleared. If this hard reset is successful, the error codes will be cleared, but the vehicle will still not feel right for some days as the system readjusts and fine-tunes.
Note: While this is one of the most effective ways of resetting the check engine light for many vehicles, it might not work for some models as their ECM memory is not dependent on the voltage.

Another method that can be effective in resetting the check engine light will entail turning the ignition on and off repeatedly. It is more like the battery disconnection method, but here you will not need to disconnect your battery completely.
Rather, you will just cut power and in the process confuse the diagnostic system causing it to reset and clear the engine check light.
Because this is a simple method that is not very involving, it will be a great idea to try it first before moving to the others. Also, given the differences in-vehicle computer systems, it will not work for all vehicles.
As important as a check engine light might be, it can also be annoying, and this is more so when it does not go away even when you are sure the vehicle does not have any issues.
But, the good news is that it is quite easy to reset the check engine light, and you will not have to be an expert mechanic to do it.
From first fixing the possible issues to scanning with an OBD-II scanner and doing a hard reset by disconnecting the battery, there are various ways to handle this issue, and you just need to know what will work for your particular situation.
Sources
 |
 |
 |
 |

About Joshua Thomas
Joshua Thomas just simply loves cars and willing to work on them whenever there's chance... sometimes for free.
He started CarCareTotal back in 2017 from the advices of total strangers who witnessed his amazing skills in car repairs here and there.
His goal with this creation is to help car owners better learn how to maintain and repair their cars; as such, the site would cover alot of areas: troubleshooting, product recommendations, tips & tricks.
Joshua received Bachelor of Science in Mechanical Engineering at San Diego State University.