by Sarah Whitfield
Roughly 45% of CV joint failures go undiagnosed until complete axle shaft failure — a repair costing two to three times more than early-stage intervention. Recognizing CV joint replacement cost symptoms before the drivetrain reaches that point is the most cost-effective diagnostic skill any vehicle owner can develop. Whether the problem presents as a clicking noise on turns or a shudder under hard acceleration, the warning signs follow a predictable and identifiable sequence. Anyone working through a drivetrain fault should pair this guide with the resources in the troubleshooting category for complete context.

CV joints — constant velocity joints — transmit torque through the drivetrain while accommodating the variable angles created by steering and suspension travel. In front-wheel-drive vehicles, they handle both power delivery and steering simultaneously, which is why they wear faster than comparable rear-wheel-drive components. On AWD and 4WD platforms, both inner and outer joints at all four corners carry load.
Replacement cost ranges from $150 to $800+ per side, depending on vehicle make, drivetrain configuration, labor market, and whether a joint-only repair or full axle shaft replacement is the correct scope. That range is wide for a reason — the variables matter enormously. Understanding them before entering a shop changes every repair conversation.
Contents
CV joint failure produces a recognizable symptom sequence. The earlier that sequence is caught, the lower the total repair cost. These five signs appear roughly in the order they develop as joint wear progresses from early warning to imminent failure.
The most definitive CV joint symptom. A worn outer CV joint produces a sharp click or pop when the steering wheel is turned at slow speeds — pulling into a parking space, executing a U-turn, or navigating a tight corner. The noise is most pronounced under load (accelerating through the turn) and disappears on straight roads. Vehicles with quality ball joints in confirmed good condition isolate the noise to the CV joint rather than the suspension, making diagnosis straightforward. If the click only occurs during turns, the outer joint is the culprit until proven otherwise.
A torn or cracked CV boot allows joint grease to escape under centrifugal force. The result is black or dark brown grease splattered on the inner edge of the wheel, the back of the rim, or the interior of the wheel well. This is a critical-stage indicator — once the boot is breached, the joint is running dry and contaminated with road grit. At this point, replacement is not optional.
Pro tip: A cracked boot caught before grease loss occurs is a $60–$120 repair. The same joint after running dry typically requires complete axle shaft replacement at $300–$800 — catching it early is the only cost-control lever available.
Inner CV joint wear produces vibration felt through the floorboard and seat during acceleration. Unlike tire balance issues — which produce consistent highway-speed vibration — inner joint vibration correlates directly with throttle input. It worsens under hard acceleration and diminishes at cruise. Pairing this diagnosis with shock absorbers in known-good condition eliminates suspension as a confounding variable and confirms the drivetrain as the source.
A deeply worn or loose CV joint produces a heavy knock during very slow maneuvering — backing out of a driveway, navigating parking lots at walking pace. The knock is heavier and more deliberate than a click and is often accompanied by a slight steering wheel shudder. At this stage, the joint has significant internal play and metal-on-metal contact is occurring on every rotation.
Shuddering or stuttering through the steering wheel under hard acceleration from a stop — distinct from wheel spin on loose surfaces — indicates CV joint failure at an advanced stage. The joint can no longer maintain smooth torque transfer at maximum operating angle. This symptom is most common on high-mileage front-wheel-drive vehicles, especially those with worn engine mounts that exaggerate driveline angles during hard throttle application.
A constant velocity joint allows a drive shaft to transmit torque at a constant rotational speed regardless of operating angle — solving the problem that conventional U-joints cannot handle under the angular variation created by steering and suspension movement.
CV joint failure is traceable to four root causes in the overwhelming majority of cases:
The table below reflects current market rates for complete front axle shaft replacement — the most common repair scope — not boot-only replacement. Boot-only work runs $80–$180 all-in and is only appropriate when the joint itself has not been run dry.
| Vehicle Type | OEM Part Cost | Aftermarket Part Cost | Labor (1–2 hrs) | Total Estimate |
|---|---|---|---|---|
| Economy FWD (Civic, Corolla) | $120–$200 | $60–$100 | $80–$160 | $150–$360 |
| Midsize FWD (Accord, Camry) | $150–$250 | $80–$130 | $100–$180 | $180–$430 |
| AWD SUV / Crossover | $200–$350 | $100–$180 | $120–$220 | $220–$570 |
| Luxury / European (BMW, Audi, Mercedes) | $300–$600 | $150–$280 | $180–$350 | $330–$950 |
| Light Truck / Full-Size SUV | $180–$320 | $90–$160 | $120–$240 | $210–$560 |
Labor runs 1–2 hours per axle on standard FWD platforms. Complexity increases significantly on AWD and 4WD configurations:
Independent shop rates typically run $80–$120/hr versus $150–$180/hr at the dealership. That gap explains why total repair cost can differ by $200–$300 for identical parts on the same vehicle.
The repair venue decision is the single largest cost lever available after symptom timing. Here is a direct side-by-side breakdown of all three options.
CV axle replacement is a legitimate DIY job for anyone with basic lift equipment and socket tooling. Required tools:
DIY parts cost ranges from $60 to $180 for aftermarket axle shafts. Quality aftermarket brands — GKN, NTN, GSP — produce joints comparable to OEM at 40–60% of the cost. Using the correct wheel bearing grease during hub reassembly protects the bearing and extends the service interval of the entire assembly.
Independent shops deliver the best value for most owners. Dealerships are justified only in specific circumstances:
For any vehicle outside warranty with straightforward access to the axle shafts, an independent shop is the correct call. Dealership premium for this repair is rarely justified by any meaningful outcome difference.
Warning: Always verify axle nut torque to spec before accepting keys back from any shop — under-torqued axle nuts are the leading cause of "new" CV joint failure within the first 10,000 post-repair miles.
Most CV joints do not fail from mileage alone. They fail from neglected boots and contamination that could have been caught and corrected for under $150. The maintenance protocol is simple and inexpensive.
Boot condition is the single most important variable in CV joint longevity. Recommended inspection intervals:
A boot in serviceable condition is pliable, fully intact, and shows no grease seepage at the clamp bands. Any cracking, splitting, or grease residue on surrounding components demands immediate attention — not monitoring.
CV joint grease is a high-viscosity, molybdenum disulfide-based compound formulated for the high-pressure sliding contact inside ball-and-groove joints. Standard wheel bearing grease is not a substitute and must not be used. When replacing a boot without replacing the full joint, the old grease must be completely removed and replaced with the correct quantity of fresh CV grease — typically 80–120 grams for an outer joint, per manufacturer specification.
Owners who incorporate boot inspection into every brake service consistently report longer CV joint service life. The marginal time investment per inspection is under five minutes per side.
The cost gap between early and late intervention is not marginal — it is dramatic:
Every driver who has heard clicking for several months and delayed action paid the second or third price on that list. The clicking does not self-correct. It progresses to failure on a timeline determined by driving conditions, load, and operating angles — not by how much the driver wishes it would stop.
When one CV axle fails on a vehicle with more than 100,000 miles, the opposite side has accumulated identical wear cycles under similar operating conditions. Replacing both axles simultaneously typically adds $100–$200 in parts with no additional labor charge — the shop already has the vehicle on the lift and the tools staged. Replacing only the failed side and returning six months later for the other pays full labor twice.
The same logic applies within a single shaft: if the outer joint has failed, inspect the inner joint before declaring the repair complete. A failed outer joint on a high-mileage shaft with a worn inner joint is a repair waiting to happen within the next 15,000 miles.
A clicking outer CV joint can remain drivable for weeks to months depending on severity, but delay is never cost-neutral. Once grease loss occurs and contamination enters the joint, failure accelerates unpredictably. Driving with an advanced-stage joint — knocking, shuddering, or visible grease on the wheel — risks complete axle failure in motion, which can cause abrupt loss of steering control. The answer: not long, and not worth the cost difference.
In most shop scenarios, replacing a complete remanufactured axle shaft is the correct call. Complete shafts cost only marginally more than individual joints, include both inner and outer joints plus a new boot assembly, and require the same labor time. Joint-only repair is appropriate only when the shaft is confirmed undamaged and a single joint has failed in isolation — a less common scenario outside of boot-only replacements on low-mileage vehicles.
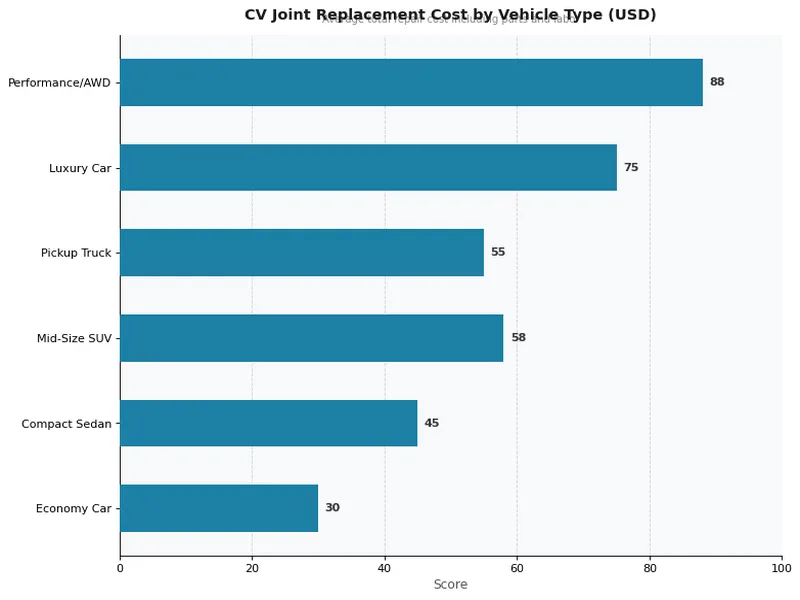
Yes, significantly. Rear CV joints on AWD and 4WD vehicles often require differential disassembly or subframe removal, adding 0.5–1.5 hours of labor to the base estimate. Standard front axle replacements on FWD vehicles are the simplest and least expensive repairs in this category. Rear CV joint replacement on a performance AWD platform runs $400–$900 per side at an independent shop.
Yes. A deteriorating inner CV joint can damage the transmission output shaft seal, causing fluid loss that goes undetected until the transmission overheats. A fully failed outer joint can damage the wheel bearing, hub assembly, and in severe cases the steering knuckle itself. Addressing CV joint replacement cost symptoms at the earliest stage prevents a cascade of secondary damage that can easily triple the total repair cost.
 |
 |
 |
 |

About Sarah Whitfield
Sarah Whitfield spent ten years as an ASE-certified automotive technician before transitioning to full-time automotive writing, giving her a diagnostic skillset that goes well beyond what most reviewers bring to the subject. She specializes in OBD-II code analysis, electrical system troubleshooting, and the intermittent failure modes that frustrate owners and confound general mechanics. At CarCareTotal, she covers car troubleshooting guides, diagnostic tools, and repair resources for drivers dealing with warning lights, strange symptoms, and hard-to-diagnose problems.
Get some FREE car parts & gear.. Or check out the latest free automotive manuals and build guides here.
Disable your ad blocker to unlock all the hidden deals. Hit the button below 🚗
| | | |