by Joshua Thomas
Swirl marks are generally very frustrating and annoying and they can give a vehicle a very unpleasant look, and this is more so for the dark-colored cars.
But the good news is that they are pretty easy to remove, and in many instances, you will not even need to use any tool or machine as you can take care of them by hand.
While the process will require some elbow grease and will take longer than using a power tool, swirl marks removal makes a great weekend DIY project. In this piece, we explain the steps involved in removing swirl marks by hand and also list everything you will need.
Contents

Any vehicle with minor and relatively newer swirl marks will give you an easy time as these will not take a lot of effort to remove.
However, almost any swirls marks can be removed by hand provided you have the right tools and products, have enough time to spare and also know what to do.

What You Will Need
Directions
Step 1: Wash the Vehicle
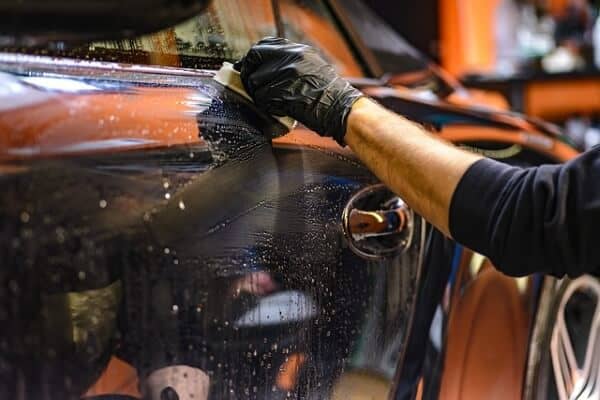
Before you start working on the nasty swirl marks on your car, you will first need to clean it. To do this you should park it in a shade and gather your car washing tools such as hose, bucket, and soap.
And to give your car a thorough cleanup, you should always start with the tires and wheels before proceeding to the body, which you should then clean from top to bottom and then dry it with a microfiber cloth.
Once the car is dry and clean, it will also be a great idea to use some clay bar to remove any grime or grit remaining on the surface. If you do not remove the grit, you can end up grinding it into the paint and causing scratches.
Step 2: Inspect Paint Surface
Once the car is clean, the next step is to inspect the paint to determine where the swirls and scratches are more prevalent as this will help you come up with a plan of action.
If your car is out in the bright sunlight, you will not have any difficulties inspecting the paint, but if you are working indoors, a good flashlight will be very useful.
Step 3: Apply Paint Cleaner
The next step is to apply the paint cleaner and how you apply it will be dependent on the type you are using, and so it is always important to read the instructions. Some will require you to apply when the car is still wet while with others you will first need to dry the vehicle.
The best paint cleaners are the non-abrasive chemical-based ones as they will remove the swirls without scratching the paint, which means you are less likely to cause more damage to the car.
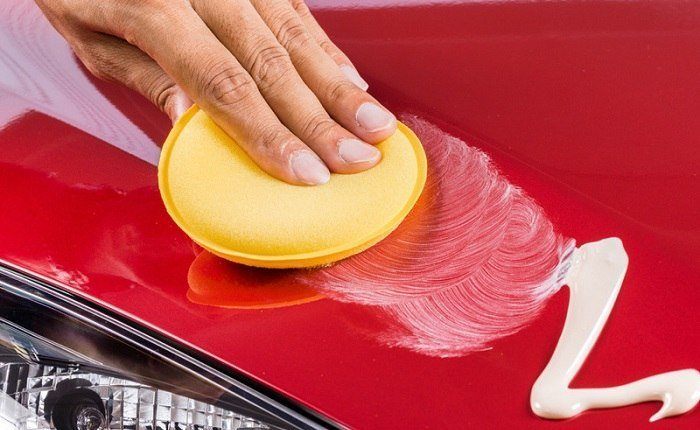
For most paint cleaners, the application will require you to pour a small amount of it to a foam or microfiber cloth and then apply it to the car in a back and forth motion and repeat until the surface is smooth enough.
Step 4: Polish out Swirls and Scratches
With the car surface clean and smooth, the next step is to give it nice and thorough polish to remove all those scratches and swirls.
Some polishing compounds work well when the car is still wet, and if you are using one such polisher, you should not dry the vehicle after cleaning it. And it is always recommended to use a less abrasive polisher because the abrasive types will often leave some haze.
Also, be sure to read the instructions on the polisher packaging as each will come with a different set of instructions, which you need to follow for the best results.
As you are polishing, you should only apply a small amount of polisher at a time because using too much can cause haze.
Also, apply it in a circular motion while working slowly to allow your polisher to do the job. And remember to wipe off any excess polisher after polishing.
Step 5: Apply Protective Coating
The last step is to apply a protective coating on the vehicle's surface to protect the paint for long. And here there are different things that you can use such as wax, ceramic coating, and sealant.
Wax will be a perfect protective material for the occasionally used vehicles given their shorter lifespan while sealants will be more appropriate for daily drive cars as they can last up to 6 months.
Ceramic coatings, on the other hand, are perfect for those that want long-lasting protection as many will last upwards of 2 years but they are more challenging to apply.

Sometimes a paint cleaner will not be effective enough at removing the swirls marks, and so you might need to look for more potent alternatives. And here a rubbing compound is one great option.
Rubbing compound is perfect when dealing with larger swirl marks as it has a more abrasive formulation. Although most abrasive compounds require application by machine, it is still possible to apply some by hand.
But, you have to choose your rubbing compound keenly to ensure you do not end up damaging the surface and something that is around 1200 grit is often good enough.
Also, remember to wax the vehicle after using the rubbing compound for a smooth finish. And the best thing about the rubbing compound is that it can remove oxidation marks and water spots.
Now that you know how to remove swirl marks by hand, it is also worth understanding some of the main causes of the annoying marks. This will make it easier to prevent them, and hence saving you the time and need to remove them. Here are the most common swirl mark causes.
Car covers are one of the most common sources of swirl marks. And while covering your car with a dirty cover looks like the most common cause, covering a dirty car with a clean cover can also leave you with some unsightly marks.
The kind of polisher and buffer that you use on your vehicle can also cause swirl marks. Using a buffer with an incorrect pad or even using it the wrong way can mean you end up with annoying swirl marks.
If the products you are using to clean and polish your vehicle are too harsh or abrasive, you will end up scratching your car. And as you wipe the product around the surface, you can also leave some unsightly scratch marks.

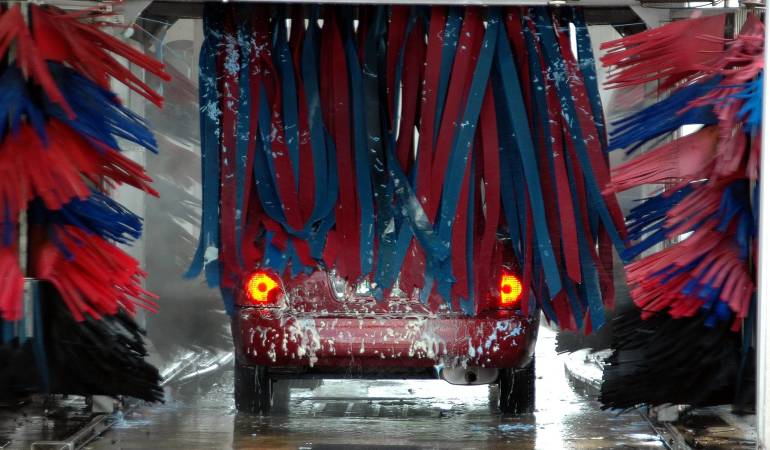
An automatic car wash helps you save time and some muscle grease and will also clean the vehicle more efficiently.
But, what you might not know is that brushes and wipers used in automated car washes can also leave the vehicle with swirl marks.
Some of these brushes and wipers will clean the car in patterns that end up giving the vehicle's surface swirl marks.
Sometimes you may not have access to water but would still want to wipe your dirty car, in such cases, you can end up having to use a dry towel to wipe it down.
While the dry towel can still get rid of the dirt, in many instances it will also leave the vehicle with swirl marks. The same is also the case when you use dry and dirty dusters to dust the vehicle.
Swirl marks are not only aesthetically unpleasant but can also make your vehicle look older than it is and unkempt, and hence reducing its value significantly. However, you do not have to live with them as they are easy to remove.
And while you can always take it to your local car shop for professional detailing or polishing to remove the swirl marks, you do not need to spend the extra dollars as you can do it yourself. Better yet, you do not even need a machine because it is possible to remove swirl marks by hand.
With a couple of hours to spare, a good paint cleaner, microfiber towels, and a hose to first clean up your vehicle, you should be able to get rid of all those nasty swirl marks in no time.
 |
 |
 |
 |

About Joshua Thomas
Joshua Thomas just simply loves cars and willing to work on them whenever there's chance... sometimes for free.
He started CarCareTotal back in 2017 from the advices of total strangers who witnessed his amazing skills in car repairs here and there.
His goal with this creation is to help car owners better learn how to maintain and repair their cars; as such, the site would cover alot of areas: troubleshooting, product recommendations, tips & tricks.
Joshua received Bachelor of Science in Mechanical Engineering at San Diego State University.